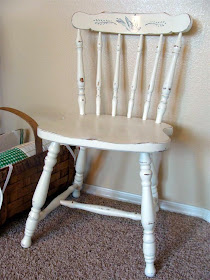
Take this chair, for instance. I shared it a while ago.
.jpg)
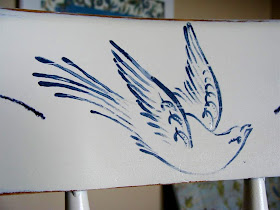
It needed some more interest so I painted a bird on the back.
.jpg)
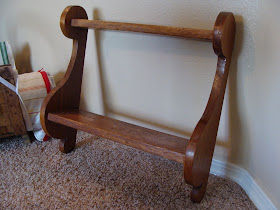
I DID NOT free-hand paint the bird. I traced it. I'm going to show you how I did the same thing to this shelf thingy.
.jpg)
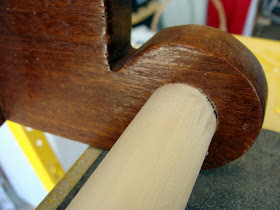
Before I could paint, though, I wanted to take full advantage of the design of this shelf. I added a dowel rod to the bottom so that it could be a a shelf and a towel or blanket rack.
+%5B800x600%5D.jpg)
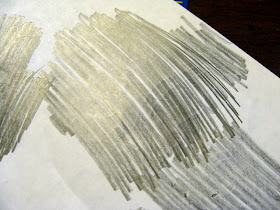
Now to paint the detail. First, choose your image and print it to the size you want. Then scribble all over the BACK of the design with pencil.
+%5B800x600%5D.jpg)
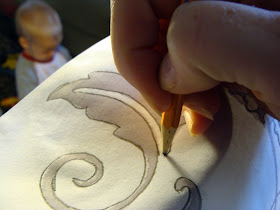
Turn the image face up, position it the way you want on your piece and trace it, applying plenty of pressure with your pencil.
+%5B800x600%5D.jpg)
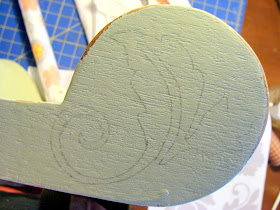
This will transfer the graphite from the back of the paper onto your surface and give you a nice clear guide for painting.
+%5B800x600%5D.jpg)
Then it's just a matter of filling it in or tracing over the lines with paint. Erase any showing pencil marks after it's dry and you're done!

Bear with me- I had some fun dressing up this new shelf.
It'd look great in a bathroom.
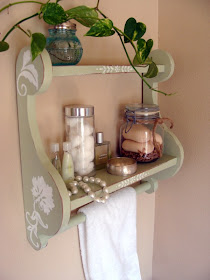
Or in a kitchen.
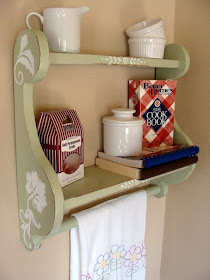
Or anywhere just holding your treasures.

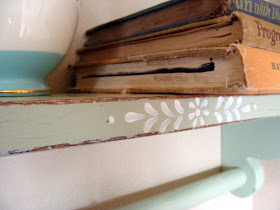
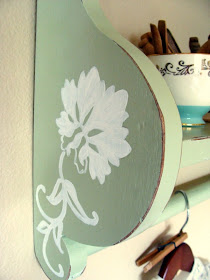
I'm linking up to Wendy's party!

This is so cute, great job! I think I will finally give "hand" painting a try on my newest project! Thank you!
ReplyDeleteBrilliant! I saw this on Pinterest and am saving it. You should get lots of traffic from this! Great idea.
ReplyDeleteAwesome! Another great tutorial by Diddle Dumpling. :) Love your site!
ReplyDeleteYou can also use transfer paper, JoAnn's or Michael's sell it, black, grey and white
ReplyDeleteI've also seen that if you put a piece of newspaper between the design and the chair and trace if transfers the design as well,, its not as dark as yours though :)
ReplyDeleteVicky ...
ReplyDeleteGreat idea! Loved the designs but wonder what kind of paint you used - acrylic, gouache?
And did you use something to seal the paint?
You've got my creative juices flowing!
Since you are already drawing with a pencil, it would be easy to switch to a sheet of clear plastic and a craft knife.Then you have a stencil, which could also be flipped if you wanted a mirror image on the other side. I've done some pretty complex stencils that I then used on paper and fabric and they were really easy.
ReplyDeleteSince you are already drawing with a pencil, it would be easy to switch to a sheet of clear plastic and a craft knife.Then you have a stencil, which could also be flipped if you wanted a mirror image on the other side. I've done some pretty complex stencils that I then used on paper and fabric and they were really easy.
ReplyDeleteWhat a great idea!!!!!
ReplyDeleteThank you very much!!
Amalia from Greece!!
This comment has been removed by the author.
ReplyDeleteI used this method when I was young! had forgotten about it.. Thanks for reminding me!! Cheers from down under.. Ned
ReplyDeleteI miss Carbon Paper. It made this so simple.
ReplyDelete