Luckily I tore it out of the magazine and pinned it to my bulletin board, because now I can't find this image on their website.
Anyway, here are a few more pieces that I found inspirational:
Totally smitten with this trio of children's silhouettes from this talented gal on Etsy.
Also loving her alphabet silhouette prints.
And here's a link to an adorable nursery art project that I'm definitely going to try out.
Love these silhouette sewing projects from Martha.
I could fill this entire post with inspirational sihouette images, but if you want to find your own I suggest just doing a search on Etsy for "silhouette" and be prepared to squeal!
So the other day I decided to give this artform a try. I found a photo of my kids that I thought might work and started experimenting. Here's what I came up with.

TWO silhouettes and only cutting ONCE! Wanna know how I did it? Okay, I'll show ya. (Keep in mind that there are PLENTY of paper silhouette tutorials out there, but I think this method is the least time-consuming because it doesn't involve any tracing and you only cut the paper one time to produce two silhouettes.)
Here's what you'll need:
digital camera
photo editing program (like Photoshop)
printer
cardstock (whatever color & texture you want)
Xacto knife
cutting mat (or something to protect your cutting surface)
archival glue stick
background cardstock (again, whatever you like)
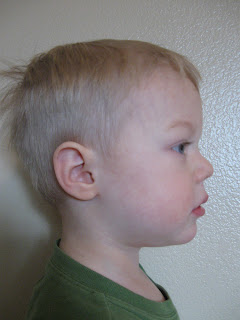
First find or take a photo of whoever or whatever you want. I chose to do my son in profile for a classic silhouette portrait.

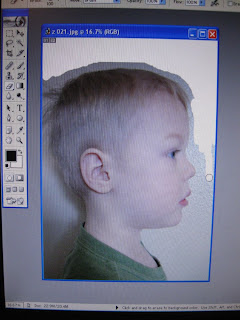
Next, upload the image to a photo editing program. (I used Adobe Photoshop.) Begin erasing the background, coming as close to the edges of your subject as possible without getting rid of any details. I purposely erased Hakan's monstrous bedhead, but you get to decide what to keep and what to erase.

When you've gotten most of the background erased, it should look like this.

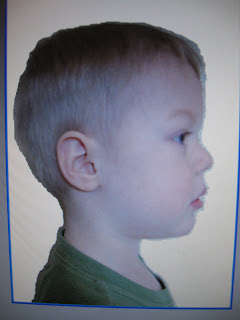
Next, change your image to "grayscale" or black and white.
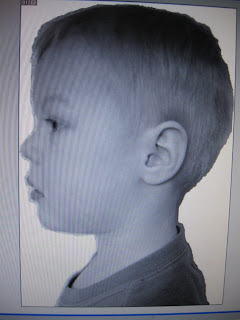
Then flip the image horizontally, making it face the opposite direction that you want your final product to face. (I want my final silhouette to face the right, so I flipped the image to face left. I'll explain why later.)

Adjust your image size to whatever you want. I'm planning on putting this in an 8x10 frame with a matte for a 5x7, so I made my image about 4x6.
Print onto cardstock. (I chose a textured white cardstock, but feel free to use one that's smooth, colored, or even something that has a print.)
Take a close look at your printed image. If there are any areas where you have a hard time distinguishing your subject from the background, use a pencil to draw in a defining line. The shine of the pencil will be visible without being permanent or bleeding through your paper.
Using a very sharp Xacto knife, begin cutting around your subject.
When you're finished cutting, flip your two pieces over and tada! TWO silhouettes. (This is why you reverse your image before you print it. Once you turn the papers over your silhouettes will be facing the right direction. And the reason I erased the background was a.) to save my precious printer ink and b.) so you don't have a big grey square on the back of your paper that may show through if the areas are really dark.)
Now the hard part- choosing how to display your beautiful silhouettes! The possibilities are endless.
Here's the full sheet of paper with black cardstock behind, which creates a traditional looking silhouette portrait.
Or you could choose something a little more fun and colorful like this one.
Then of course you've got the piece that you cut out, which can also be mounted on whatever you want!


Whatever you choose to do with your cut pieces, a simple glue stick is all you need to adhere your image to its backing, though an archival adhesive is probably best.
So go nuts! I know I'm going to. :)

.JPG)


