Monday, May 21, 2012

Several "before" and "afters"

Okay, folks, moving day is the day after tomorrow, so I'm afraid I'm just going to have to dump a bunch of photos on here and call it a blog post. After that I'm going to be MIA for a while. Probably a long while. If I were more on top of things I'd have written a bunch of posts ahead of time and set them to auto-post during my absence, but I think we all know that that was pretty unlikely to happen. And I have to warn you that these are not the most dazzling makeover projects, either. But I did document them (sort of) so I feel compelled to share. First is my husband's nightstand. I decided I'd like to get new ones when we move so I wanted to try redoing this one to sell. It wasn't awful, but I was kind of over the dark brown/painted detail combo.


The top had some water damage so I needed to sand that down before painting.
I painted it a creamy white color, distressed just a bit and added some vintage sheet music to the top and drawer front.
A clear, vintage glass pull adds a little sparkle to it.
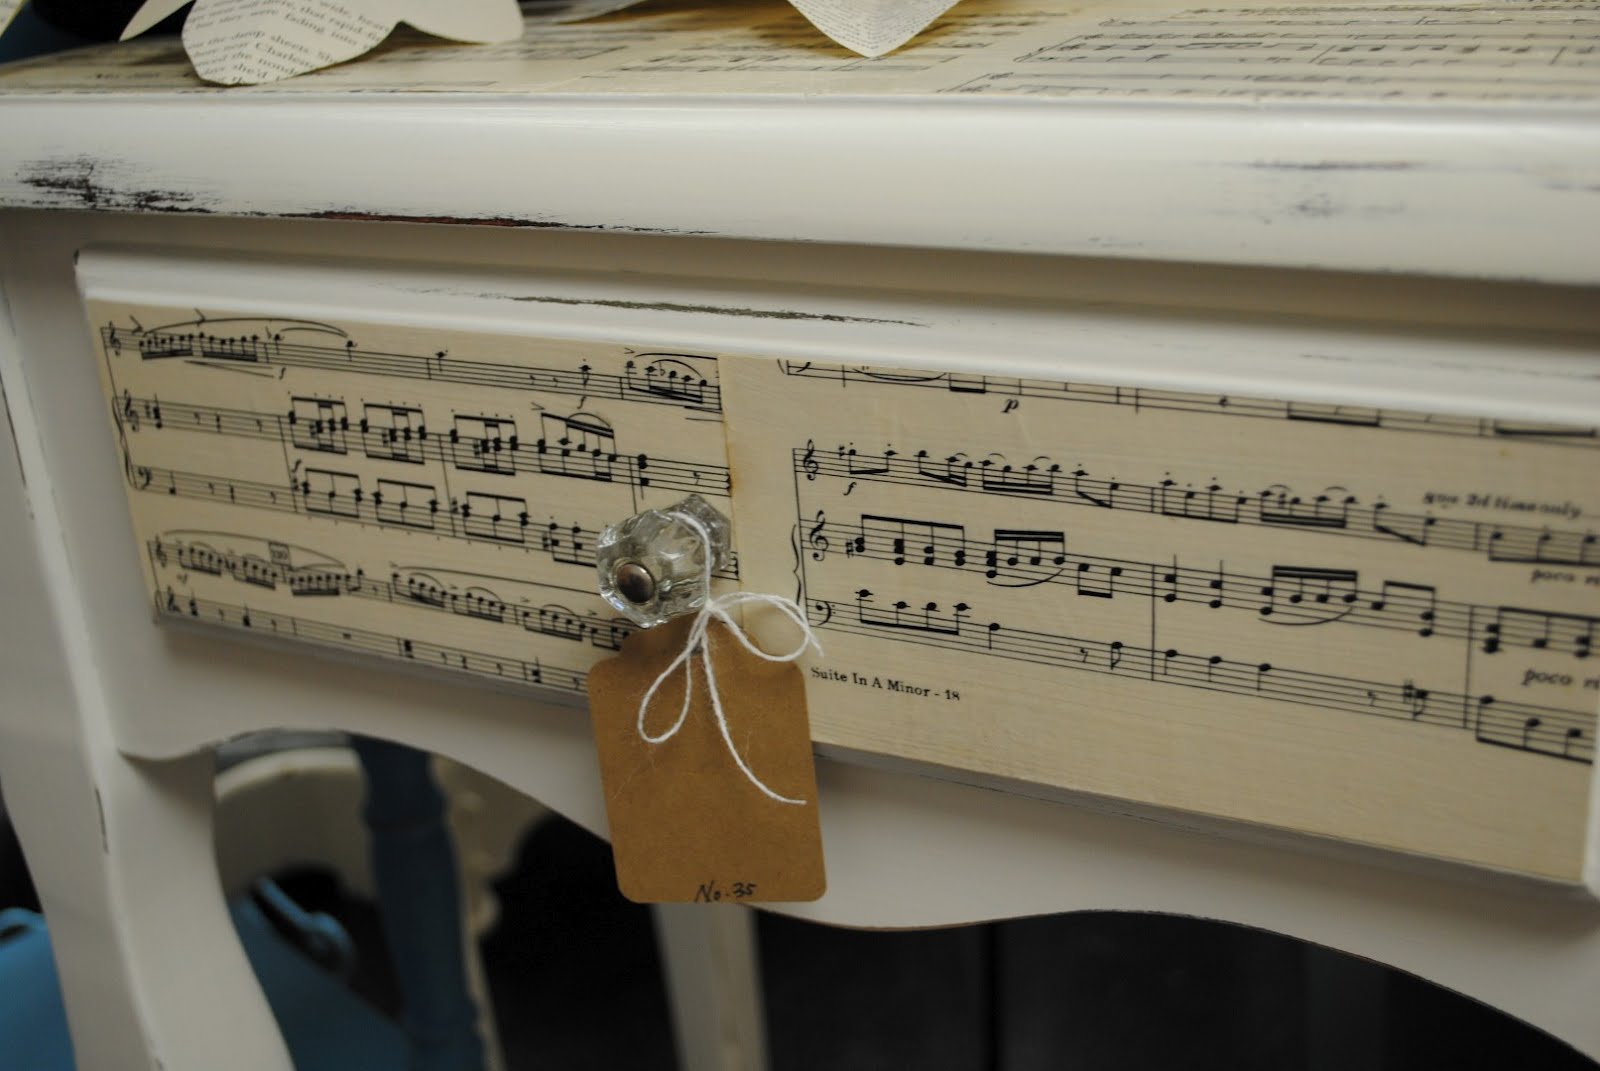
Unfortunately I didn't take a "before" photo of this vintage phone stand, but it wasn't much different except it had a shabby looking cherry wood finish on it.  I painted it the same color as my plank-topped sewing table to make it a little more fun. 
These antique chairs were from an ice cream shop in downtown Modesto.  The chairs themselves were in pretty good shape, but they needed an update.
I spray painted them in Heirloom White then got to work on the seat cushions.  A couple of them were missing their seats, so after cutting new plywood circles I recovered them all with simple but sturdy drop cloth fabric. 
Still too plain, though.  They need numbers!  Numbers are always cool, right?  Again using contact paper I cut out the numbers in the style that I liked and rubbed them onto the fabric.  (I did this step after upholstering the seats because I knew that trying to center each number perfectly on the seat and then attaching the fabric would be really tricky.)

Using a stencil brush I dabbed on some craft paint to fill in each number.
I was going for an imperfect look, so I didn't fill them in completely.
Why I didn't take a picture of all 5 I can't figure out.  But I think you can get an idea of what they ended up looking like.
Finally, I painted this little nightstand to match my daughter's dresser.  No distressing, no glazing, just a good paint job.  (Sorry, no "before" for this one either.)
Unfortunately the dresser sold without the nightstand (yes, I sold my girl's dresser- poor thing has had her clothes in laundry baskets for weeks).  But hopefully somebody likes the nightstand enough to buy it on its own!
Well, that pretty much does it.  I have a couple more projects that I'm finishing up now, but I don't know when I'll get a chance to share them.  In the meantime, wish us luck!  This is a BIG move and I'm more than a little nervous about it.  But I hear Ann Arbor is nice, however far away it may be from our loved ones.  I'll check back in as soon as I can.  Please don't give up on this little blog of mine!  I'll be back!

Monday, May 14, 2012

Before and After: Black Numeral Dresser

Holy smokes, people, I've been a painting fool lately!  Seriously, I thought I'd given myself carpel tunnel for about a week. Believe it or not I AM working on projects, despite the fact that I've been a little scarce around here.  I'm not sure if I've mentioned this or not, but we're moving from California to Michigan this month.  We're about to say goodbye to our friends and family here, as well as all of our stuff.  It's going to travel to MI and sit in storage while we do a month-long road trip to see friends and family in Idaho, Utah and New Mexico. We'll get to Michigan around the end of June/beginning of July and live in corporate housing while we search for a house.  That's going to be a whole other ridiculously cuh-RAZY experience in itself, I'm sure.  Meanwhile, I've got movers coming in a week and a half and furniture in the garage that needs to get OUT and into the store to SELL-- pronto! 

So here we go.  This is my most recently completed project and one that I'm really happy with.
I vowed a while ago that I couldn't acquire anymore pathetic furniture to rehabilitate, seeing as how we're moving and all, and my garage already had quite the collection. And I did good!  I stayed away from thrift stores (at least the furniture section), I didn't go to a single yard sale, and I completely ignored Craigslist. It was TORTURE! Then one day I innocently wandered through the furniture aisle of a thrift store, thinking there's no way I could be tempted to buy anything with our move looming so close- until I spotted this.
It's no secret that I have a soft spot for long, low dressers. Perhaps you've noticed.  
There was the grayish blue french dresser...
...and the monochromatic striped one...
...and my favorite robin's egg blue rustic one...
...and the creamy white dresser with the big golden damask...
...and the super distressed blue one that I did for a fellow vendor at the store.

 This one was about as pathetic as they come, and it was priced reasonably and these things usually sell fairly quickly.  Obviously, I HAD to buy it.  I have to admit, I felt pretty sheepish when I admitted to my husband that I'd bought another big dresser. But I had a plan, and that plan came together beautifully on this piece! I started by removing those weird drawer pulls. I considered keeping them until I noticed one was missing, so they had to go.
The holes got filled in with wood filler and then sanded smooth.
The plan for this dresser was a lot like what I did to this numeral waterfall style dresser from a while back. But instead of staining the numbers after the paint was applied, I did the staining first this time. I decided where the numbers would be on each drawer, then stained that little section dark and let it dry.
While the stain dried I painted the body of the dresser with some black DIY chalk paint.
Using an exacto knife and contact paper, I cut numbers in a style that I liked and carefully applied them in the stained sections, being sure to rub the edges really well to prevent seepage.
Then it was time to paint the drawers. The absolute BEST part is peeling up the contact paper and seeing those crisp, warm wood numbers underneath the paint! I distressed everything a bit, then drilled some new holes for rope drawer pulls and wiped the whole thing down with satin polyurethane.


The insides of the drawers are a little funky, some covered with a bright yellow lining and some with a black and white damask.

Wouldn't this be cool in a boy's room? Or as a sideboard in a bachelor pad? Oooh, or even as an entertainment center!

I'm telling ya, watch out for this style of dresser. They can do so much more than store your clothes!