Thursday, June 30, 2011

Before and After: Entry Table and Corner Cabinet

I guess technically you can't call this first one a real "before and after" since I couldn't scrounge up an actual "before" photo, but it should be pretty easy to imagine. This little corner cabinet lived in my daughter's room until we moved to California, at which point there just weren't any corners for it to go in. I had painted it white and it looked lovely with her other white furniture, but after seeing it sit in the garage for a few months I decided it was time to find it a new home. But first it needed a little... something.

I pulled out a can of pretty blue and painted the back panels and insides of the doors.

Now it's a little more interesting, don't you think?

We hadn't used the doors while it was in my daughter's room and at some point along the way the hinges and knobs were lost. Easy- just buy new hinges and re-hang the doors, right? WRONG! What a BEAR those doors turned out to be! Luckily my in-laws paid us an unexpected but perfectly timed visit last week so my father-in-law spent a couple of hours helping me get those blasted doors back on. We even had to trim them down with a saw to get them to work! In the end, though, they yielded and with their cute ceramic knobs they are back where they belong.

This next project was one that took quite a lot of work but I think was worth it in the end. I spotted this table on Craigslist and pounced on it right away. Turns out it was being sold by the very same fella who sold me the antique writing desk that I used to make my island!
This poor table had the worst paint job, complete with sloppy sprayed-on gold accents. But if there's one thing I'm good at, it's seeing potential.


The base got painted creamy white then glazed with brown, and the top was stripped, sanded and stained walnut.

Just look at those legs...


I would have loved to keep this beauty, but there's just so much furniture my house will hold.

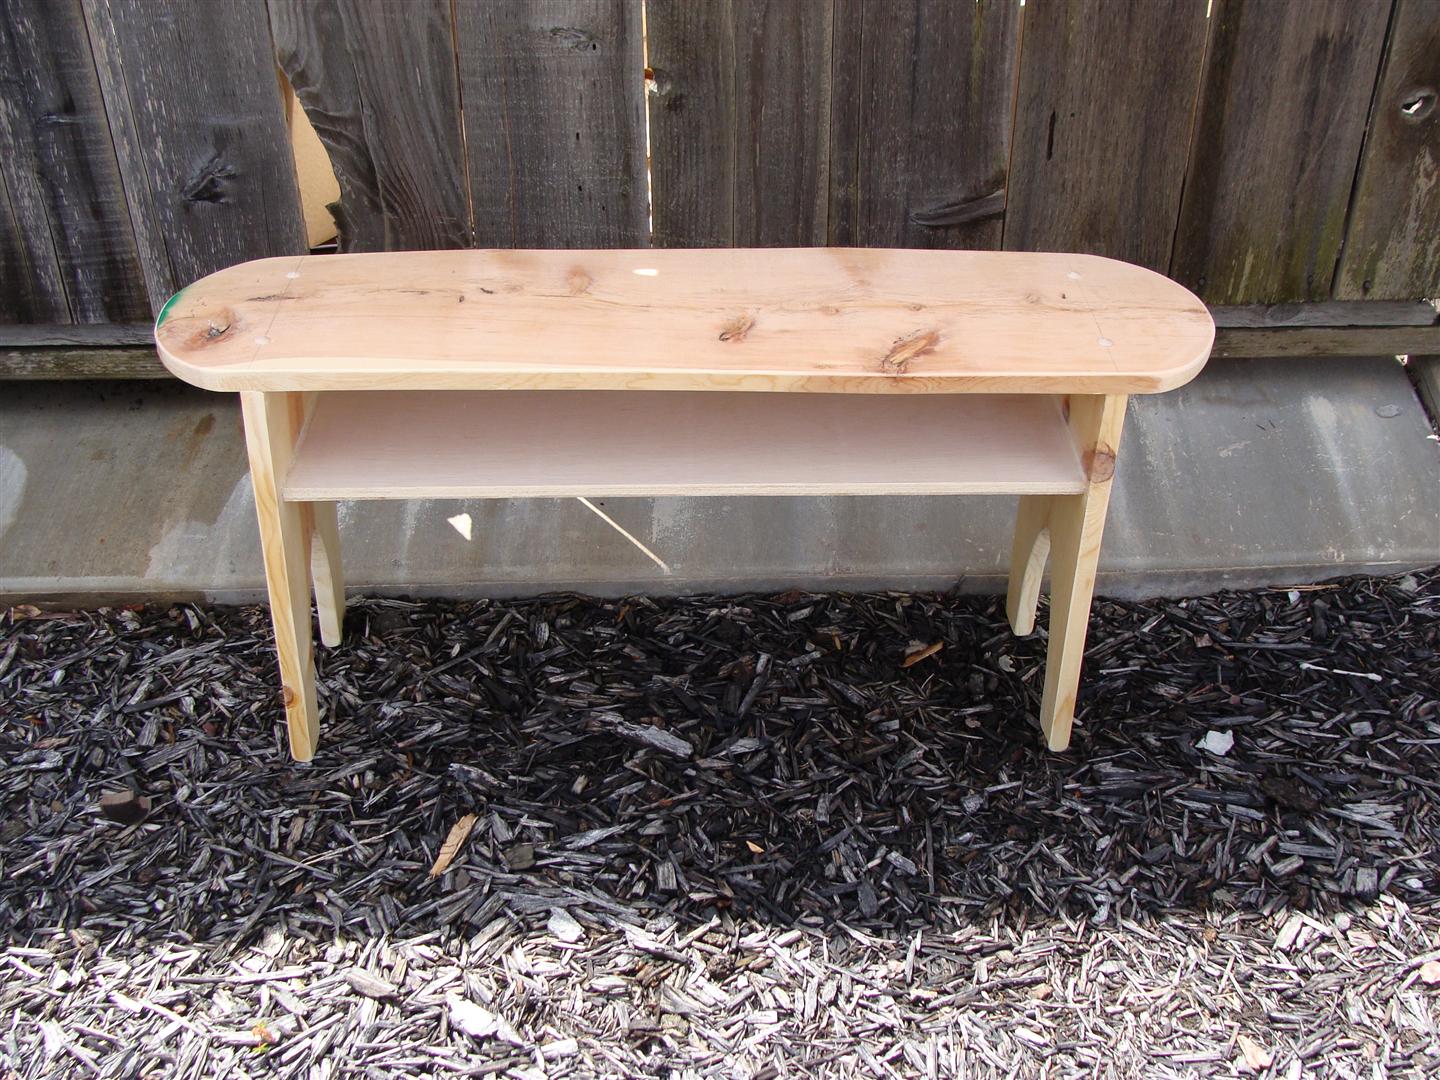
Finally, here's one more little project- another bench!

This time I painted it bright green and distressed it plenty.
So, do you have big plans for the long holiday weekend? We've been invited to a pool party with my sister-in-law's family, and since the weather is supposed to climb back up into the hundreds over the next few days, I think that would be the perfect way to celebrate our country's independence!

Happy Independence Day!

Wednesday, June 22, 2011

More Stools and a Before and After

Is it as hot where you are as it is here? We've been breaking 100 degrees regularly for the past couple of weeks. Bleh. I don't handle heat very well. And guess what else? Our A/C isn't working. It's making me one grouchy mama these days. It's also made it more difficult for me to get any projects done because I don't want to be outside in this face-melting weather! Still, I've accomplished a couple of things lately.

I couldn't resist trying again to make some stools, but this time I went a lot smaller.


I found a can of this pretty blue Oops paint at a local hardware store and love it already.

Something a little patriotic seemed appropriate for the other one.


These stools turned out basically how I'd planned, though I definitely learned a few lessons in the process so the next ones will be even better!

Just a little more patriotism to share with some wooden flag plaques.

I made 3 of these and took them all to the shop yesterday. Why didn't I think to keep one for me??

Finally, here's one last project that I finished up last week. The rocker on the left started off fine, just a little plain and worn.

Now it's sporting a new coat of red paint and a fun flowery seat cushion.

I think my favorite part is the aqua ribbons that tie the cushion to the chair.

Looks right at home on my front porch, huh? Well, it only stayed there long enough to take these photos. It's now at the shop too!

I've got a few more projects in various stages of completion that I'll be sharing soon. Check back soon! Now I'm off to go hunt down a kiddie pool!

Tuesday, June 7, 2011

My attempt at building a bench

Right along side my chair obsession is an affinity for benches and stools. (They're like chairs, right?) I often see simple, kind of primitive benches like these used as functional decor, which I love.


source


source


source


source

I've had this photo from Miss Mustard Seed's blog in my Inspiration folder for a while.
I liked the rounded edges of these benches, which I think makes them a little more sophisticated than the blocky, square ones (which I also like).

This weekend, out of sheer boredom, I decided to try and build my very own bench with some wood scraps that I had in the garage.

It's far from perfect, but it's sturdy and functional and basically turned out how I wanted it to. And while I really wanted to be able to add the little side apron pieces like the bench above, I didn't want to have to go out and buy anything to make this, so it didn't get any.

(You can't see it in any of the photos, but there's also a 1x2 under that little shelf that runs perpendicular to it which adds some more stability.)

I sunk all my screws and hid them with wooden buttons so it'd look a little less home made.

The seat and legs were made from imperfect boards that I got out of the cull bin at Home Depot a while back. The shelf, support board and buttons were leftovers from other projects.

Since red was all I had on hand, red it became.


It now serves as a little table/foot rest in front of my porch sofa.


The sprinklers got it this morning, but I have a feeling it will hold up pretty well outside.
I can't wait to make more stools and benches in different shapes, sizes and styles. Now I just have to figure out how to convince my husband to buy me a new jig saw, and maybe a chop saw...