Saturday, October 2, 2010

A couple of "Afters" and the Simply Content Sale

As I was loading the truck with my stuff for the Simply Content sale yesterday, I realized there were a couple of things that I hadn't taken pictures of yet. I slowed down long enough to snap a photo of this pair of nightstands, though they don't have a "before" photo to go with them. Imagine them with blond wood and a pretty rough finish and dull, brassy drawer pulls.


They begged for a bold color, and since I already had some glossy red that's what they got. Mustard yellow would've been cool, too. I applied some wrapping paper that I found at Hobby Lobby to the back panels and just painted the existing hardware with Oil Rubbed Bronze spray paint.

They make quite a statement now, don't they?


One of my biggest projects has been a dining room set that I assembled with some mismatched chairs and a big oak pedestal table that came with 2 leaves. Here are a couple of the chairs I used.


Unfortunately I didn't remember to take a before photo of the table, but here's an "in progress" photo of a bunch of projects I was working on earlier in the week, including the dining set.


I visited the sale today before it began to take pictures of the rest of the things I'd forgotten, but they were all kind of buried under lots of other things. The two chairs on top of the table match, and the chairs on either side of the table are taller but mismatched. Everything was painted Heirloom White then distressed.

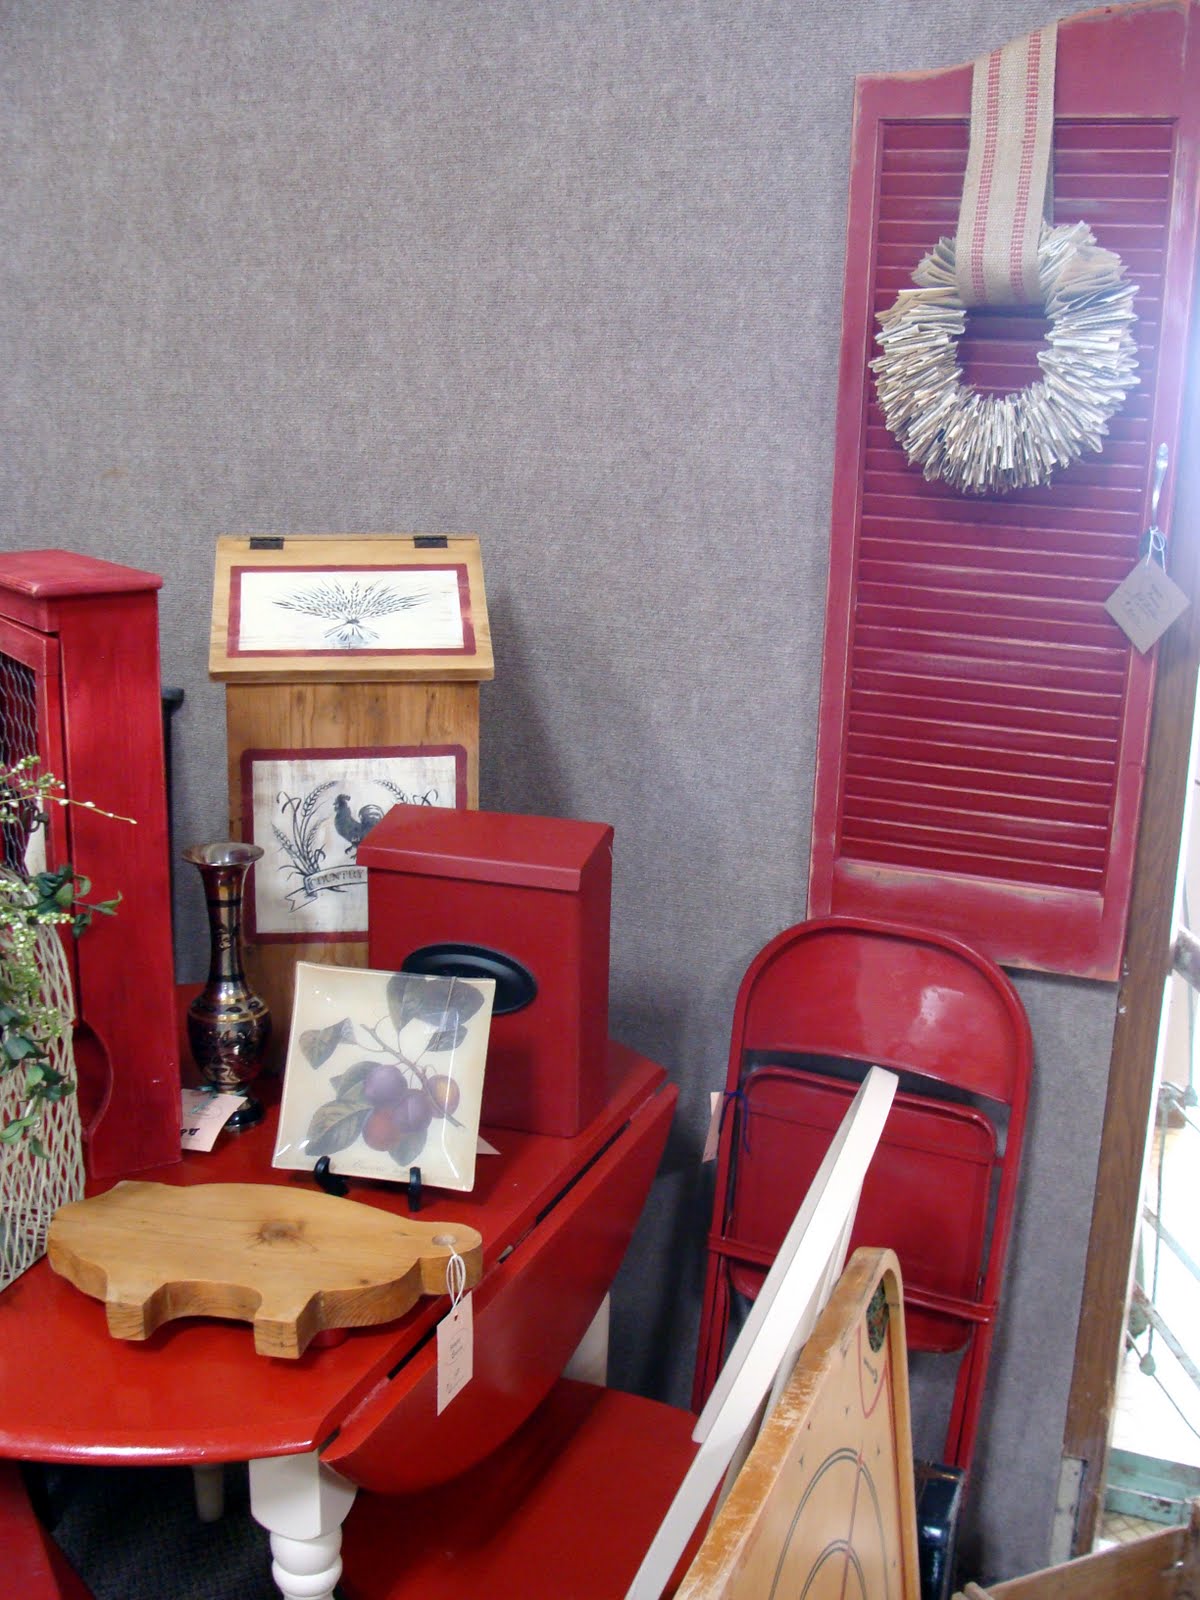
Here is a photo of part of the hall where the sale is being held. They'd stacked and organized and arranged everything so well, even though there was TONS of stuff.

I got such a kick out of seeing my stuff displayed that I had to take a few pictures.

Those sterling salt & pepper shakers, the hand painted tin and the burlap-wrapped jar are mine...

...and almost everything on this hutch is mine as well.


Then there's my very own hutch all prettied up with a lot of my knick knacks and accessories.


Finally, I had to take a photo of this bed frame. I. was. DYING. I wanted it soooo bad and it was SUCH a good price- just $45!!!

I loved the details and the shape and the chippy aqua paint and the rust and the wheels- everything about it was perfect. I came so close to buying it right off the bat but after I stopped panting and drooling, reason kicked in. (Dang that stupid reason!!)
A.) I don't need a full-sized bed,
B.) I wouldn't know how to explain the purchase to my husband except to say that I was in love with it,
C.) (most importantly) I didn't know how I'd get it home.

So I snapped the photo so I could drool later, said goodbye and walked away, and died a little inside. My friend who was there for the whole sale told me later that it was the first thing to sell.

*sniff

I visited the sale again later in the evening and you could tell there was a lot missing, but I couldn't help but notice my items that were still there- specifically the BIG stuff. I can't help but fret because I really, REALLY don't want to have to rent another Uhaul just to bring things home. So I went around marking some things down and I'll just have to cross my fingers that they sell tomorrow. Otherwise I might have to hit up some friends with trucks for a favor.

Friday, October 1, 2010

Before and After: Antique Rocking Chair Restoration

This isn't really a makeover, but more of a restoration project. I tried hard to keep this piece as close to the state it was in when I got it, only not broken.

A very sweet friend of mine spotted this antique rocking chair while she was out one day and asked the seller how much he wanted for it. When he told her the price was $10, she asked him to hold it for her, then she called me and told me about it and we drove over to see it together.


The sweet old man who owned the rocker didn't know its exact age but estimated it to be about 100 years old. It was in pretty bad shape, but for $10 I thought that it would be worth trying to save.

There was some pretty serious damage and a few crude repairs had already been made to it along the way.

Click on the photo to get a better idea of the problems this rocker had.

This is the fabulous product that saved the day.

I'd never used it before but had seen a professional in an upholstery shop using it to rebuild the corner of a wooden chest that had been chewed up by a dog. It's an epoxy putty and comes in a roll, wrapped in plastic, inside a plastic tube.

You slice off a hunk of it and you'll see that there are two different colored components.

You knead these two components together and they react to one another to form a very strong, binding substance that dries very hard, like wood.
One of the broken back spindles had a gap between it and the seat, so after driving a screw through the bottom of the seat up into the spindle to stabilize it, I rebuilt the missing part with the Kwik Wood.

This is before I sanded it smooth, but you get the idea. You just use the putty like clay to sculpt or fill in the damaged areas of the furniture. When it's dry you sand it and paint or stain it.
Gorilla Glue was another key player in this project. The arms got glued to the back then secured with tape until it dried. You can also see in this photo some other areas of the base that were repaired with the Kwik Wood.

Next I worked on the seat. It had become detached from the base and was no longer even touching it in the back.

I tried using a few globs of Gorilla Glue and a clamp, but that wasn't going to be enough.

You'll see in this photo that at some point someone had attached the wooden seat with a bunch of tacks. (Do you see the star design the holes make?)
I removed the tacks along the back and drilled screws through a few of the holes to reattach the seat.

Using wire snippers I clipped the heads off 3 of the tacks...

... then used my trusty Gorilla Glue to stick them on top of the screws to hide them.


The other tacks got hammered gently back into place and the seat was fixed.

Once I got to this point I wasn't sure what else to do. I sanded down the wood epoxy as best I could, then left the rocker to sit for a couple of months while I worked on other things. All I really had left to do was hide the repaired areas somehow, but I was really nervous that I'd screw it up.

Finally I got up the nerve to try it and pulled out a little can of walnut gel stain that I had lying around. Turns it out was the very thing I needed.


It covered the light colored putty and blended beautifully with the antique wood. You can still see the repairs, but they're not glaringly obvious.


The whole rocker got a good cleaning with some Orange Glow and now it's usable and beautiful again.


Aren't those brass caps on the back cool?


It still looks old and imperfect, but that's what I like most about it.

Tuesday, September 28, 2010

Before and After: Peg Shelf and Side Table

Are you sick of before and afters yet? Sorry, but there are more today, and more to come later. Hang with me, okay?

This shelf was pretty nondescript when I picked it up at Idaho's Largest Garage Sale back in May. The finish was peeling and it just looked dated and tired.

After quite a bit of sanding, painting, more sanding and some new hooks, it looks totally different now.

I discovered the pretty hand painted ceramic hooks at my local Cost Plus World Market.

Aren't they pretty?


I found this table at the Garage Sale, too. It's your average, run-of-the-mill, honey oak side table with turned legs and a little drawer. Reminds me a lot of this one.

A lot of times when I'm doing furniture, I have a plan for it right away. It speaks to me right off the bat and tells me just what it wants to become. But sometimes it doesn't, and I have to wait for something to inspire me before I can work on it. This time, as has happened before, my inspiration was a can of spray paint.

This is RustOleum's "Oregano".

This table waited patiently for over four months, collecting dust in my garage. It's time finally came and it's much happier now.

Here's a closer look at my little vignette on top of the happy green table. Like my mini apothecary jar? I found it at the Bargain Center last week and was just dying to fill it with something cute.


All of these things look like they came from my back yard, but it's actually store-bought potpourri. I love that big hunk of wood in there!

Have you guys seen this stuff? It's at Michael's in the candle section and costs $7.99 per bag (unless you bring a coupon!). This is not your grandma's potpourri.

It still smells nice like traditional potpourri, but it's a lot more interesting than just a bunch of dried leaves and petals. Check this out.

Dried slices of fruit, seed pods, nuts, berries, little gourds, pine cones, raffia balls, big leaves- even an itty bitty dried pumpkin!
I counted about 8 different scented varieties of this stuff at my local Michael's. Some of them have a color scheme to go along with the scent, like the apple scented one is mostly red. There's even a blue-toned one that has seashells and drift wood in it! So if you need some interesting fillers for bowls, baskets or jars this autumn, take a trip to the craft store and see what you can find in the candle aisle.