Friday, September 30, 2011

Before and After: Dresser (and a Halloween craft sneak peak)

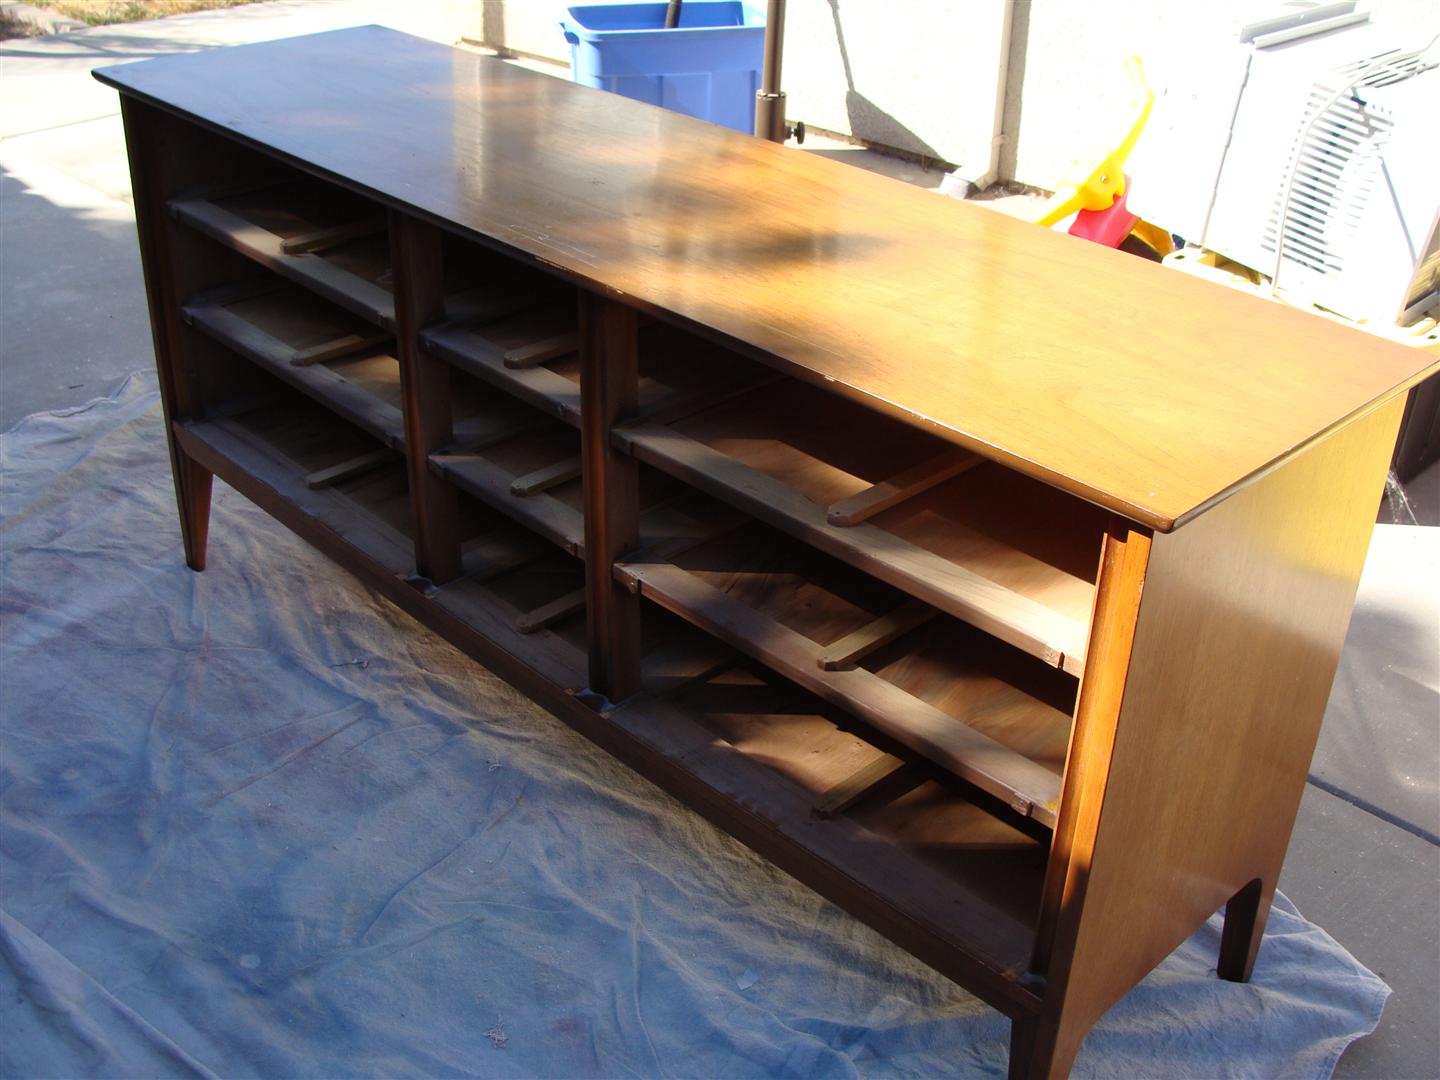
Several weeks ago I got an early start hitting some yard sales and happened upon a couple who were just putting things out into the driveway. Not wanting to be a rude "early bird" I asked if they were ready for shoppers yet and they said sure. I spotted this big beauty right away.

Can you believe they only wanted $10 for it?? This sucker is SOLID maple and heavier than you would believe. One of the handles was missing, but I didn't care. Last week I finally settled on what I wanted to do with this piece and got to work.

I found a set of similar handles in my stash that (miraculously) fit the existing holes, but the finish was kinda ugly. They got primed and sprayed with an oil-rubbed bronze paint to update them. (Sorry, forgot to take an 'after' photo of that part.)

The body of the dresser was painted in the same duck-egg blue as this dresser and the top got refinished with some antique walnut polystain.


I know not everyone is a fan of the heavily distressed look, but sometimes I think it adds character to an otherwise plain piece like this one. I was so tempted to swap this dresser out for the one in my daughter's room because it's way bigger, but decided I probably ought to just sell it like I'd originally planned. *sigh

And finally, I was in a dollar store yesterday and spotted some cool Halloween decorations that were screaming to be turned into something even cooler. Here's a peak at what I'm doing with those.
Any guesses what they'll end up being?? (No telling Lisa- you already know! :) Can't wait to show you!!

Thursday, September 29, 2011

Baby Shower Gifts: Embellished Onesies

I love baby showers. I really do. Especially the kind where you just kind of hang out and chit chat and swap pregnancy/birth/motherhood stories and eat yummy food and ooh and aah over the decorations and cute presents and favors. Those are my favorite. Tonight I got to attend one such shower and had a fabulous time. Two gals were being honored tonight, one who's due with her 3rd boy in about a week and another who's expecting her 3rd girl towards the end of November. Cool, huh?

Of course making baby stuff is a real treat for me, so I thoroughly enjoyed spending this afternoon creating some one-of-a-kind onesies to gift to my fellow expectant mommys. I did something similar a while back for another friend's shower and had such a good time with it then that I thought I'd try it again. ( I have to say, Pinterest came in real handy when I was looking for ideas. Do you Pinterest yet?)

As usual I started with a couple packs of white onesies, but this time I bought those kimono-style tees as well because they're just so stinking cute. Here's the boy batch which includes...

... an appliqued elephant...

... a gray linen whale with tiny button eye...

... a creeping button caterpillar...

... and a dapper polka dotted bow tie.

The girl batch included...

... a strip of lace with some mother-of-pearl buttons down the center...

... a floral birdy...

... white eyelet ruffle trim...

... and a pink knit ruffle.

And just for a little humor, each one got one of these as well. (In case you can't tell, these are appliqued to the backside.)


I wish I'd had time to take a picture of them packaged, but I was in a little bit of a rush. All I did was roll up each onesie and tie it with some twine. I had some little tin buckets and filled them with the onesies, then attached a tag to the handle with a pink or blue ribbon.

I had so much fun making these- hope my friends like them, too!

Thursday, September 8, 2011

Before and After: Chair and Dresser/ Sideboard

That's right- yet another thrift store chair make over! Not much wrong with this chair except that it was pretty dirty and had some good sized chunks gouged out of the back. Cute shape, though, so I had to try and make it cute all over.

After repairing the gouges I primed and painted the whole thing bright white, then got to work making a cushion for the seat.

This cushion is attempt #2. The first one was similar but I'd used bright and colorful fabrics for the hexagons. I loved how it looked, but when I sewed it into a cover I wasn't very careful and it didn't turn out looking very nice.

I left it alone for a few days and finally decided that I wasn't happy with it at all and needed to start over. There was no saving it, so I just cut it apart and framed the hexagons in an embroidery hoop. (I'll show you that later.)

For cushion #2 I used these pretty pink and coral hexagons because I'd already made them, and glued and sewed them to some linen that I found in the remnants bin at Joann.

I already had some foam which I cut to size then wrapped in batting. The cover is an envelope-style so it can be taken off and washed. Finally, to keep the cushion from sliding around on the chair, I added cotton twill tape ribbons at all 4 corners and made them extra long so I could tie them around the legs ballet shoe-style.

Making hexagons is so relaxing. Definitely going to be doing more with them in the future!

I have to say, it took me a while to decided whether or not to buy this dresser. It was sitting in a thrift store and looked really nice, but I just didn't know what I'd do with it. It doesn't have much detail to it (the drawers are all flat, not even any hardware) and I was just drawing a blank with what I could do to transform it.

In the end, though, I decided it was just too good to pass up. It was in great shape, but unfortunately when we were loading it into my car the latch that keeps my hatch back closed gouged the snot out of the top when we slid it in upside down. :(

I sanded the gouge out then got to work priming and painting, and painting, and painting... until finally I'd turned it into this.

I added some simple white Hobby Lobby knobs to the middle drawers to give it a little more character, but I love the look of the tone-on-tone stripes on this simple, clean-lined dresser. I opted not to distress it, which meant that I got to UBER STRESS about scratching the paint while it was being transported across town to the shop and into my space. I lost track of how many layers of polyurethane I put on it, but that didn't ease my mind much.
Needless to say it was a huge relief to get it into the space unscathed. However, looking back I probably would've rather done a treatment like this instead.

The natural wood drawers were so pretty, but I didn't think about this until it was too late. It would've been cute with the outside painted maybe a distressed blueish green and the drawers left natural maple, no numbers or hardware or anything. Ah well. There will be other dressers- you can believe that!

Monday, August 29, 2011

More Fall Decor Projects

I've got another installment of "Sarah's Fanatical Fall Craft Frenzy" here for you today! (Okay, that was corny, but I just can't help it.)

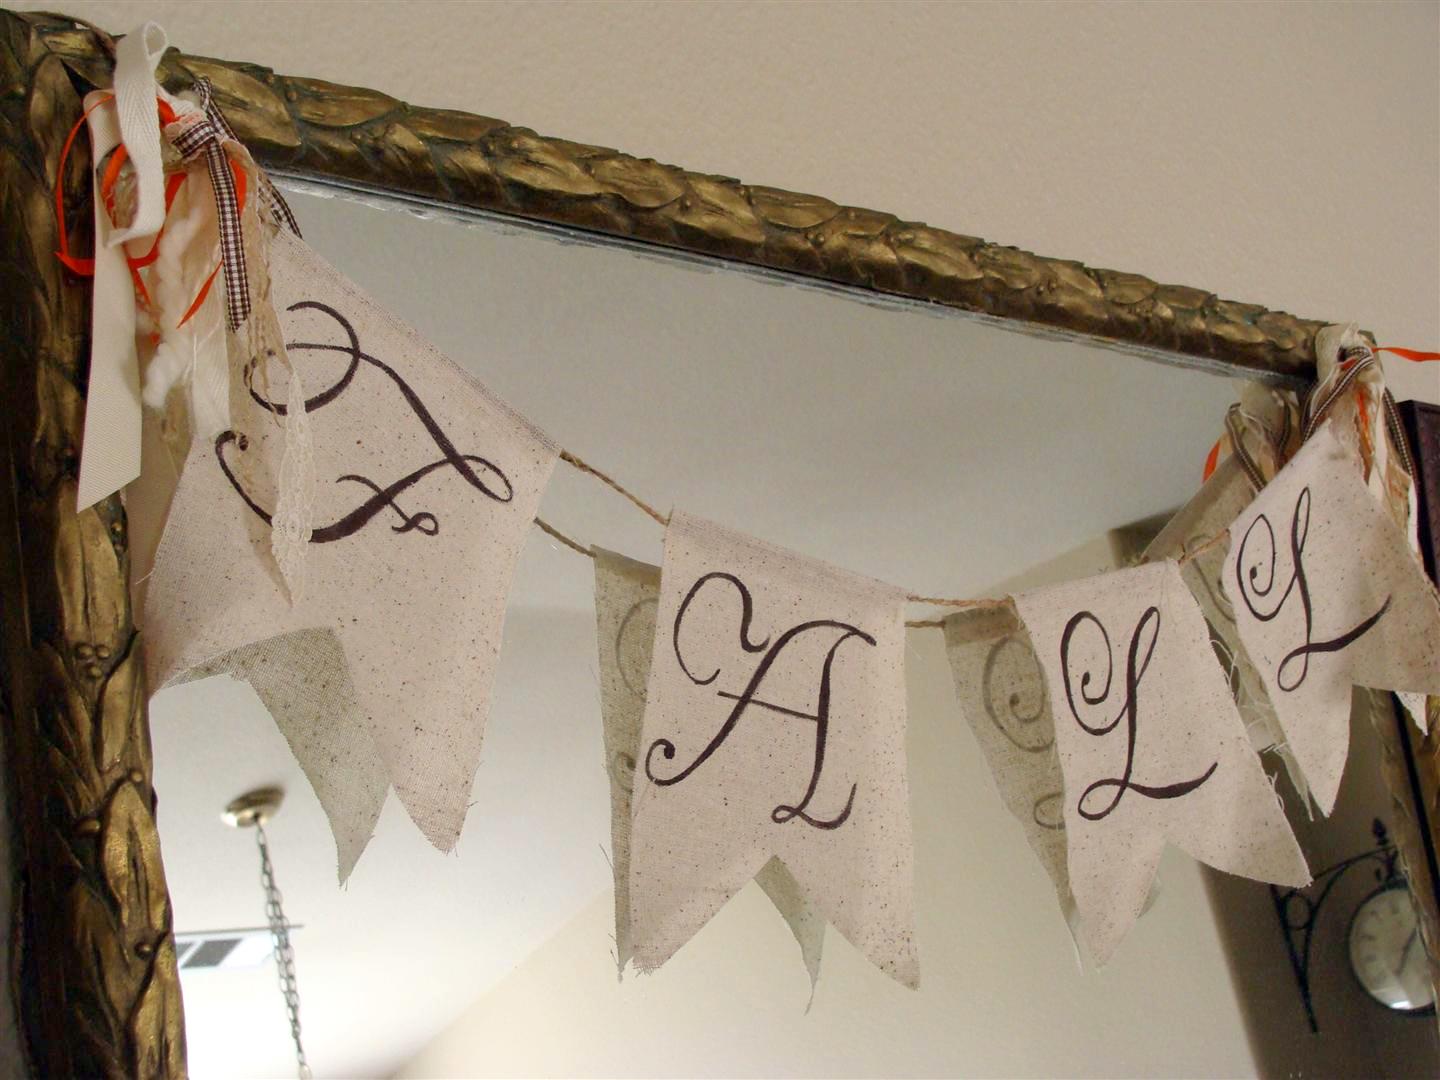
Here's another hand painted banner that was super quick and easy to make.

For a little more charm I added some tassles of ribbon, yarn, lace and string to each side of the word.

For this wreath I followed a tutorial given by Emily at Jones Design Company. Her ruffles seem fuller than mine, though. Hm. I may have to give this one another try.

Then came the fun part- embellishing! I looked through my stash of scraps and do-dads to see what I could find and had a really good time putting together 3 little rosettes using different materials.

Here's a closer look at each one. This one is made from cotton crochet trim purchased at Joann, a cotton yo-yo, a mother of pearl button and some burlap string.

Next we have a burlap base with some scrap lace and a wool felt center.

This one has a base cut from a felted wool sweater, some lace trim and a cashmere rose and burlap string in the middle.

Maybe it's not very fall-ish, but it looks kind of romantic and I like all the natural colors and textures on it.

Finally, this was an idea I'd seen on Betz White's blog a while back and finally got around to making a couple.

The doily and spider (2 pack) came from the Dollar Tree and the hoop is something I always seem to have around. I just need to pick up some black ribbon for hanging.
Cute and creepy!

Saturday, August 27, 2011

Tutorial: Book Page Fall Leaf Garland


This project is so simple, I almost feel silly making a tutorial for it. But I was describing it to a friend over the phone and she seemed interested in making one of her own. Maybe some of you might be interested, too, so here ya go!

Supplies:
old book
scissors
pencil
hole punch (1/8" is best)
twine, string or yarn
tape

Start by carefully tearing out 3 or 4 pages from your book at a time.

Fold them in half lengthwise, all stacked together.

Trace or draw half a leaf shape onto the folded paper, with the center of the leaf on the fold. Depending on the size of your pages, you can probably fit at least 2 leaf shapes to each stack of pages. (You can skip this step if you want to just free-hand cut your leaves.)

Cut out the leaves.


Keep the leaves folded and punch a hole close to the "stem" end of the leaves.


Wrap some tape around one end of your twine or yarn to keep it from unravelling and to help it go through the holes easier.

Feed the twine through the holes at the tops of your leaves. If you're using various shapes of leaves, alternate them or string them on randomly for a more organic look. You can also alternate having the folds facing up or down if you want.
Thread enough of the leaves onto the twine (spaced evenly) until your garland is the length that you want it to be.

Hang and admire!